How to Build a Rocket Stove

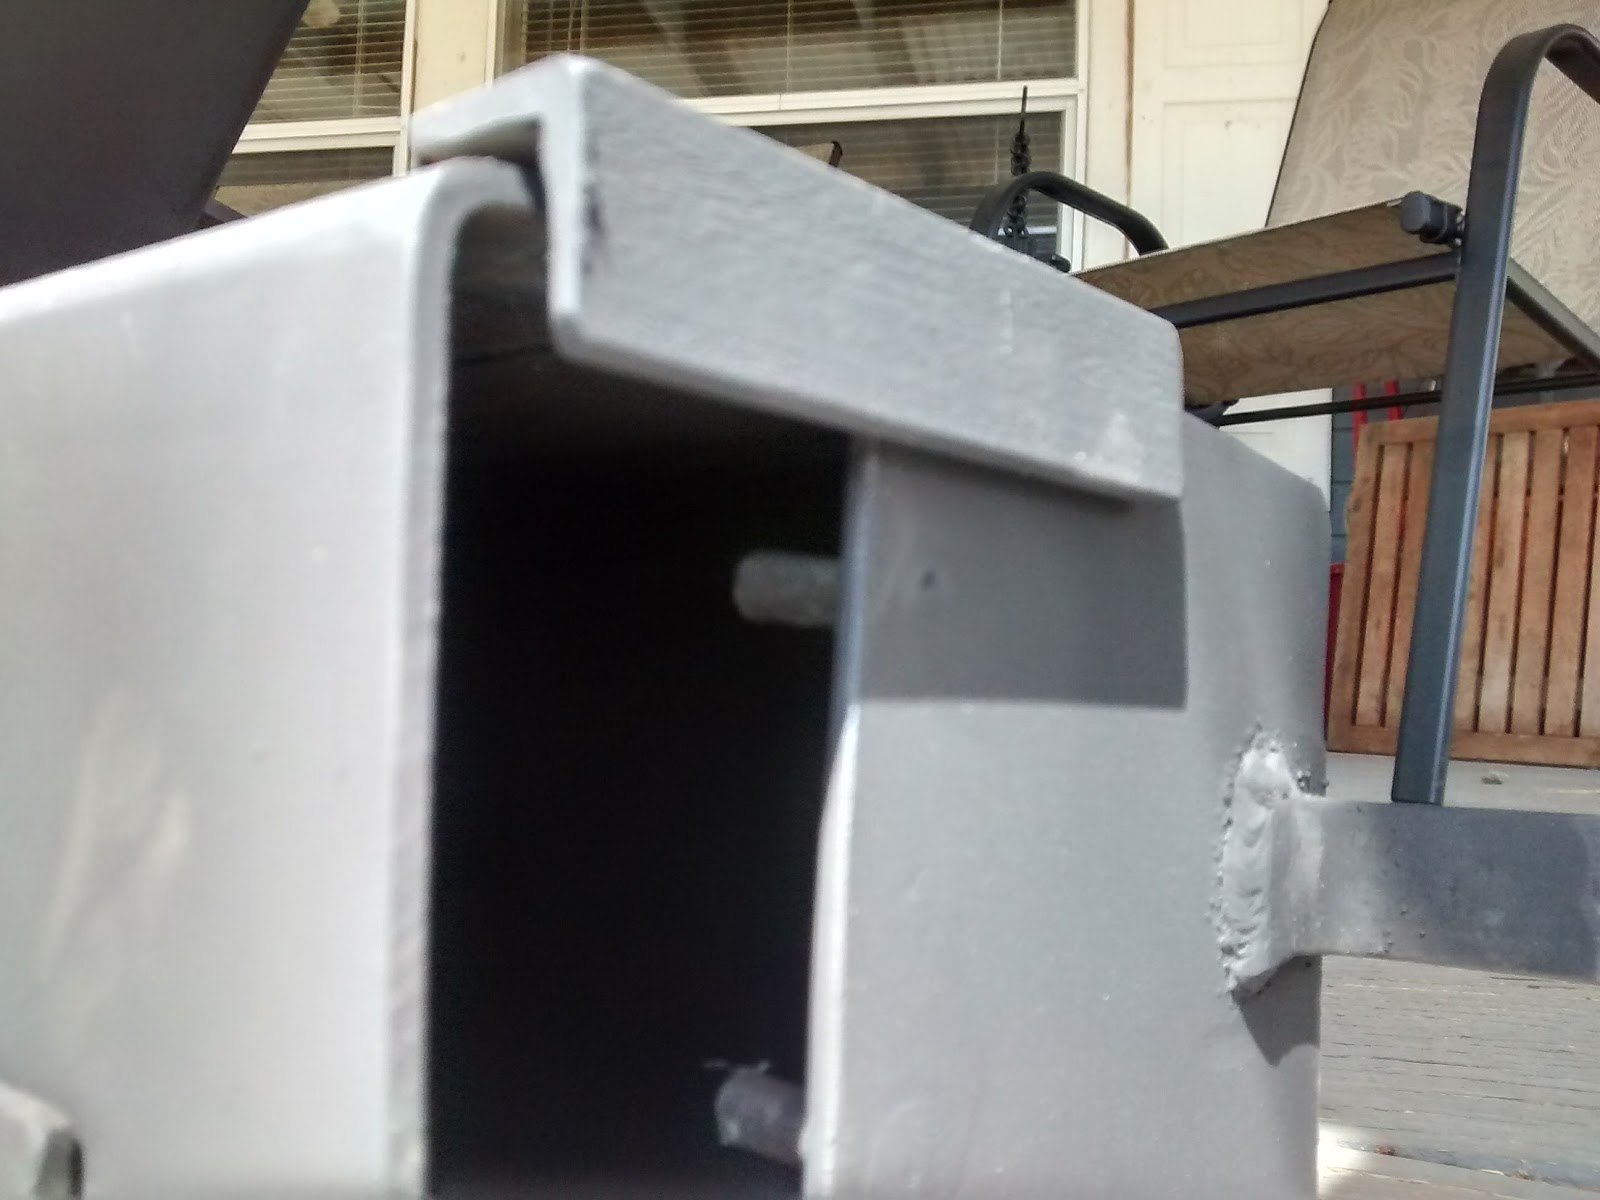
I made to versions of this one, the second version is what is shown in the photo to the right.
Description of the Stove
The stove has some features that make it different from others.
- A removable grate.
- Fuel door.
- Air door.
- Removable stand
- Removable stand and grate make it easier to transport.
The stove doesn't require any special fuel, twigs, grass, paper, bark, and anything else you would find in the wild that burns can be used. It, like others is to heavy to backpack so it's a stove you carry in your pickup or bug out vehicle.
It's 18" high and 14" long. The body is made out of 4" square tubing with a 1/8" wall thickness.

Tools and Equipment Used.
For this project I used the following:
- Hobart MVP210 on 110vac (any 110v mig welder or stick welder will do just fine)
- On this one I use .035 flux core but fluxcore or solid wire with gas will do.
- If stick welding you could use 6013, 6011, 6010, or 7018 probably 3/32".
- 4 1/2" angle grinder with cutting wheels, flap disks, and grinding wheels
- Various C-clamps and locking pliers. Clamps big enough to go around the 4" tube.
- File to take of any sharp spots.
- Tape measure
- Speed Square
- Scratch awl and marking pen to mark cuts.
- DeWalt chop saw ( you can get by without one)
- Welding magnets
Materials and Cut list
Let's start with a list of materials and their dimensions of what is needed:
| Material | Dimension | Quantity | Remarks |
| 4”x1/8” Sq Tubing | 4”x12” | 1 | Cut at 45 deg for fuel chute |
| 4”x1/8” Sq Tubing | 4”x18” | 1 | Cut at 45 deg for chimney |
| 4”x1/8” Sq Tubing | 4”x14” | 1 | Cut at 45 deg for body |
| 1 1/2” x 1 1/2” x 1/8” Angle | 1 ½” x 10” | 2 | Stand |
| 1/4” x 1” Flat bar | 1/4” x 12 | 2 | Grate |
| 1/4” x 1” Flat bar | 1/4” x 18 | 2 | Stand |
| 1/8” x 1” Flat bar | 3” | 1 | Handle tab for air door |
| 3/4” x 3/4” Angle | 3 1/2” | 2 | Air Door |
| 1/2” Tube x 16 gauge | 3 1/2” | 1 | Cut in 3 pieces for hinge |
| 3/8” Round bar | 3 3/4” | 1 | Hinge |
| 14 gauge | 4 x 4 | 1 | fuel door |
| 14 gauge | 4 x 4 3/4” | 1 | fuel door |
| 1/4” Round bar | 1” | 2 | Air Door |
Generally I cut all the pieces before fabrication. Remove all the burs and round corners using a flap disk on an angle grinder. The square tubing was to big for my chop saw and could only cut about half way through while cutting at a 45 degree angle. I used a cutting whell on my angle grinder to finish the cuts.
Fabrication
I found it easier to put the fuel door and air door together first.
Fuel Door
The fuel door is 4" x 4 3/4" to accommodate the hinge which is also fabricated. The hinge is made out of 3/8" x 3 3/4" round bar and a 3" piece of 1/2" tube. Cut the tube into 3 pieces. Round the door to match the profile of the square tubing with a flap disk.
Position the fuel door flush with what will be the top of the fuel chute. You want the door to open downward, else it may get in the way of the grate. Where there is 3/4" overhang on the bottom, tack then weld a piece of 1/2" tubing to the door. You only need to weld one side on the outside. Slip the 3/8" round bar into the weld tube and slide the outside pieces of tubing on and tack it to fuel chute only. Make sure the door moves freely then weld the outside tube to the fuel chute. Just tack the 3/8" pin to the outside tubes, this keeps the pin from sliding out.
You can weld a tab on the door to help flip it open but on this one I didn't find it necessary.
Air Door
Again, round the corners of the air door to match the profile of the tube. I drilled two 1/4" holes along the left side about 2" apart and about 3/8" from the edge. I then drove the two pieces of 1/4" round bar in the holes and plug welded them from the outside. Grind the weld smooth. These will keep the door from sliding off. Bend a piece of 1/8" flat bar to make a tab for operating the door. Weld to the opposite side of the two round posts and weld it to the opposite side (opposite and opposite).
Now take one 3/4" angle and tack in place with air door in place. Leave a little gap so the door will slide. Angle is not square on the inside corner and you have to allow for that so the door doesn't bind. Tack the second piece of angle in place and make sure the door slides easily. If all is good, a couple of short weld on the angle is all you need.
Stove Body
Clamp the 18" x 4" and 14" x 4" tubes together. Place the fuel chute against the vertical piece (18" chimney) and mark where to cut a square out for the fuel chute. Test fit the pieces. If all is good tack the 18" and 14" piece, check alignment and weld. Note that after cutting the 4" tube I found some had deformed and I needed a clamp to hold them in place while tacking them up. Weld the two together and then add the fuel chute. I was able to get in tight corners and weld them with flux core, it may be a little tight if you are using gas/solid wire. You now have the basic stove.
Grate
The grate is just two pieces of 1/4" x 1" flat bar X'd together. I notched the middle of each piece at the 6" mark half way through to interlock them. Make sure the two bars are even and weld them. This was easier than cutting 4 pieces and welding. I set the completed grate on the stove and notched the grate where it sits on the 4" tube so it wouldn't slip off. Just a small notch is all that is needed.
The Stand
This stand holds the stove on the ground. Some may not like it that way but I wanted it to be more compact. You could modify the stand to your liking so it is raised off the ground.
I clamped the two pieces of 1 1/2" angle to the body with a shim using a piece of 16 gauge sheet metal on one side (vertically). Then weld on the two 18" flat bar pieces. This allows the stand to easily be removed. It will rock in the stand but won't tip over. Once the stove heats up the body expands and tightens in the stand.Then just tack and weld the 1/4" x 1" flat bar pieces to the angle.
Finishing
Just use high temp paint on the outside. First time use, just let the paint burn off before cooking.
No comments:
Post a Comment